

-
December 4, 2024
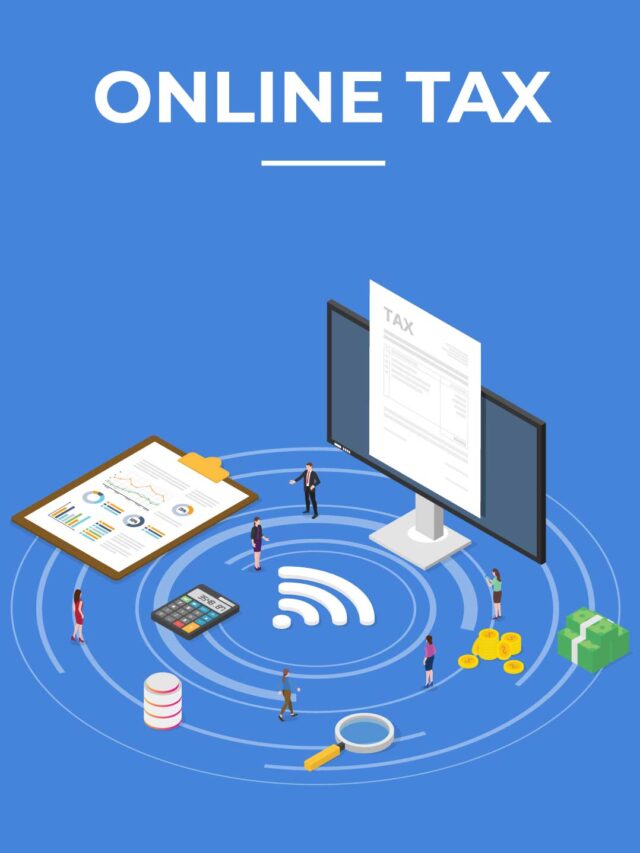
How to Fill and Submit an Income Tax Challan Online
Paying taxes is essential but can be overwhelming. Filing an income tax challan online simplifies the process, allowing individuals and businesses to make tax payments directly through the official e-filing portal. This guide walks you through the steps to fill out accurately and submit your income tax challan, streamlining your tax payment experience.
What is an Income Tax Challan?
A challan is a formal document used for making payments related to taxes owed. When taxpayers need to pay their tax liabilities, they must submit an income tax challan to the government as proof of payment. This document contains important details such as the taxpayer’s name, the amount of tax to be paid, and the head under which the tax is being paid.
You can use an income tax challan for various taxes, including advance tax, self-assessment tax, and TDS (Tax Deducted at Source) payments, among others.
Steps to Fill and Submit an Income Tax Challan Online
The process of filling and submitting an income tax challan online is now relatively simple.
Below are the steps you need to follow:
Step 1: Visit the Official Income Tax e-Filing Portal
To begin the process of filling out an income tax challan online, first visit the official Income Tax e-Filing website. You can access by https://incometaxindia.gov.in/.
On the home page, under the ‘Taxpayer Services’ section, you will find a link to pay taxes online. Alternatively, you can directly visit the “e-Payment of Taxes” section.
Step 2: Select the Relevant Challan
On the e-payment page, select the relevant income tax challan type based on the tax category you are paying. The most common options are:
- Challan ITNS 280: Use this to pay income tax, including advance tax, self-assessment tax, and regular assessment tax.
- Challan ITNS 281: Use this to deposit TDS (Tax Deducted at Source) and TCS (Tax Collected at Source) payments.
- Challan ITNS 283: This is used for payment of the Securities Transaction Tax (STT).
For most individual taxpayers, Challan ITNS 280 will be applicable for income tax payments.
Step 3: Fill in the Required Details
Once you’ve selected the appropriate challan, you will be required to fill in various details. Below is a breakdown of the fields you need to complete:
1. Assessment Year: This is the year for which the tax payment is being made. It should be the year immediately following the financial year.For example, for income earned in the financial year 2023-24, the assessment year will be 2
2. Tax Applicable: You will need to select the tax type for which you are making the payment. Common options include:
- (100) Income Tax (Regular Assessment)
- (200) Advance Tax
- (300) Self-Assessment Tax
3. Mode of Payment: Select the mode of payment, which could be either a direct bank transfer or a payment using a debit/credit card.
4. Bank Account Details: Choose your preferred bank from the list of available banks that support e-payment. You may also need to enter your bank account details.
5. Amount: Enter the total amount of tax you wish to pay, including penalties, if applicable. Be careful with the amount to ensure it matches your calculated tax liability.
6. Challan Number: After submitting the form, you will be provided with a unique challan number as a reference for the transaction.
Step 4: Verify and Submit the Challan
Once you’ve entered all the necessary information, double-check the details for accuracy. Any errors in the challan could result in delays or even penalties. Ensure that the assessment year, tax amount, and type of payment are correct before proceeding.
After verifying the details, submit the challan online. The portal will redirect you to the bank’s payment gateway.
Step 5: Make the Payment
You will now be redirected to the chosen bank’s online payment page. Choose the payment method that suits you best, whether it’s a debit card, credit card, net banking, or other options.
After completing the payment, you will receive an acknowledgment receipt or payment confirmation from the bank. This acknowledgment will contain the Challan Identification Number (CIN), which is important for future references. Make sure to save this confirmation for your records.
Step 6: Download the Challan Receipt
After successfully making the payment, you can download and print the income tax challan receipt. This receipt serves as proof of payment and contains vital details, such as the payment amount, the date of payment, and the CIN.
Step 7: Verify Payment on the Income Tax Portal
Check your payment status on the official Income Tax e-Filing portal to confirm the transaction is updated in your account. You can log in to the portal and check your Form 26AS to verify the payment details.
Suggested Read: Intimation Notices under Income Tax Act
Benefits of Filing Income Tax Challan Online
- Convenience: You can make payments from anywhere and at any time without needing to visit a bank branch.
- Time-Saving: The process is faster and eliminates the need for manual processing.
- Instant Acknowledgement: After making an online payment, you receive instant confirmation, reducing the risk of errors.
- Transparency: The online portal records your payment directly with the Income Tax Department, reducing the chances of discrepancies.
- Ease of Access: The income tax challan online system allows you to track your payment status easily and download receipts.
Conclusion
Filling and submitting an income tax challan online is an easy and efficient way to meet tax obligations. It eliminates the need for paperwork and bank visits, ensuring timely and accurate payments. Always double-check your details and keep a payment receipt for your records. The online system simplifies tax payments, making it more accessible for taxpayers.


Income Tax Return Filing
File Your Income Tax Return in Simple Steps with Ebizfiling
About Ebizfiling -


April 11, 2026 By Steffy A
Compliance Calendar: May 2026 Introduction Compliance Calendar May 2026 is important for businesses as it covers key filings related to April 2026 transactions. This month includes major GST return filings, tax payments, and statutory contributions. Businesses must track […]
April 6, 2026 By Dhruvi D
Strategic Funding for Indian Captive Subsidiaries: A Comprehensive 2026 Guide When a foreign parent company establishes an Indian Subsidiary to manage back-office operations, the entity operates as a “captive”—meaning its only source of revenue is the parent company itself. Navigating […]
April 6, 2026 By Steffy A
Professional Tax Notice Explained: Causes, Response, and Solutions Let’s understand Receiving a professional tax notice can feel confusing, especially if you are unsure about the reason. Many individuals assume it is a serious issue, but in most cases, it is […]